
Help guides · Receipts and documents
Find the receipt workspace
- For
- Owners and administrators, Operations managers, Office managers, Finance
- Booking system
- Hostaway and Uplisting
- Last checked
Receipts brings uploaded bills and receipts together so your team can review them, approve costs and check what happened next.
Steps
- Open Money, then Receipts.
- Use the inbox and filters to find a receipt. Filters change only the view.
- Open a receipt to check its file, amount, date, category and property.
- Continue with [Upload a receipt](19-upload-receipt.md), [Review and approve](20-review-and-approve-receipt.md) or [Send to Hostaway](20-send-to-hostaway.md), as appropriate.
Office managers, operations managers and Finance: open Receipts directly from the main menu when your role has document access.
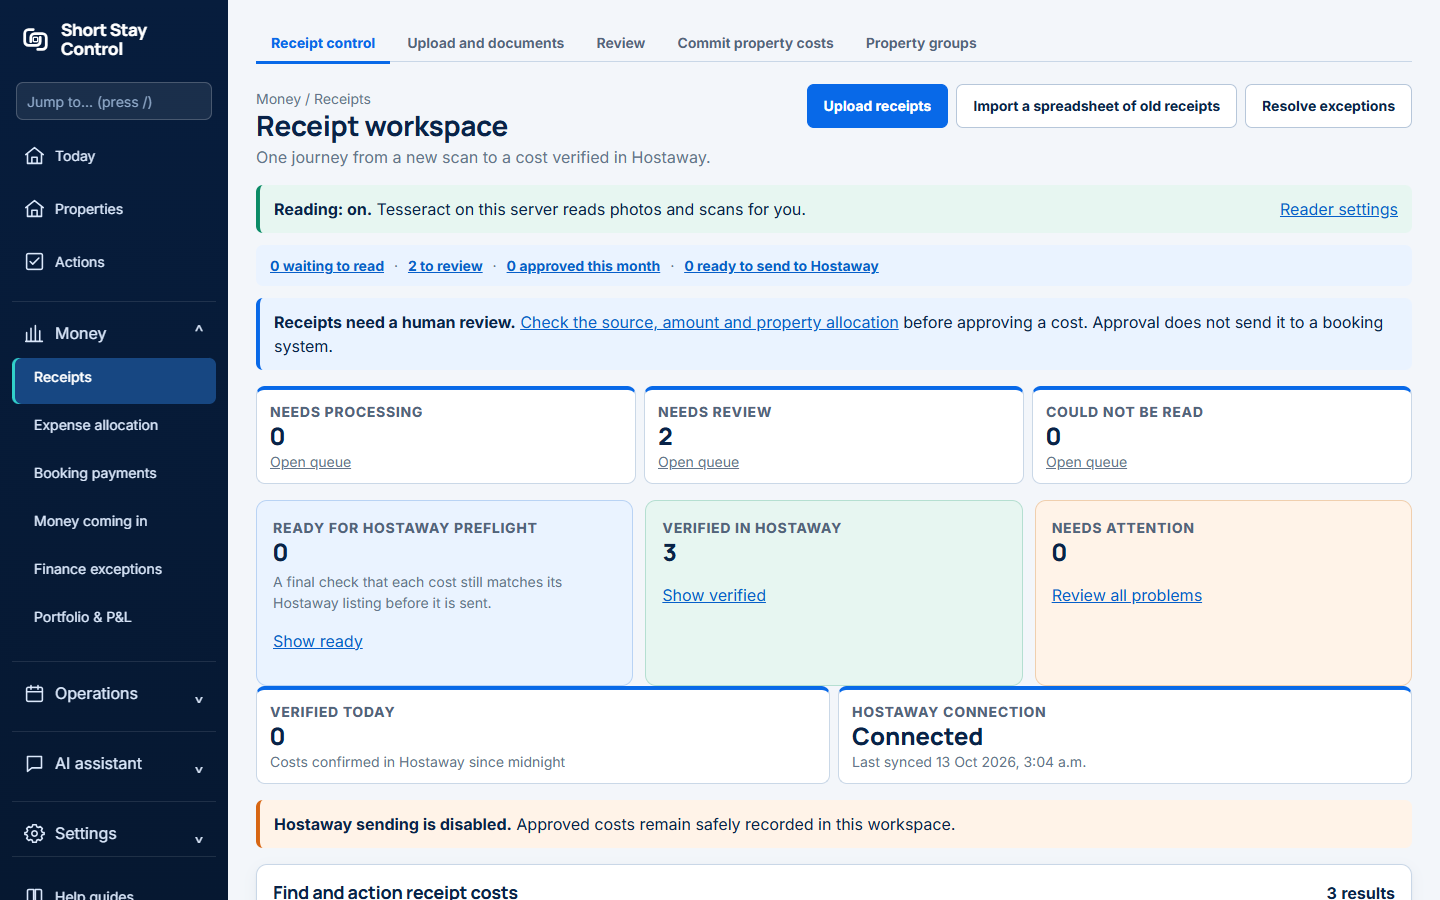
Figure 1. The receipt workspace in the demonstration account.
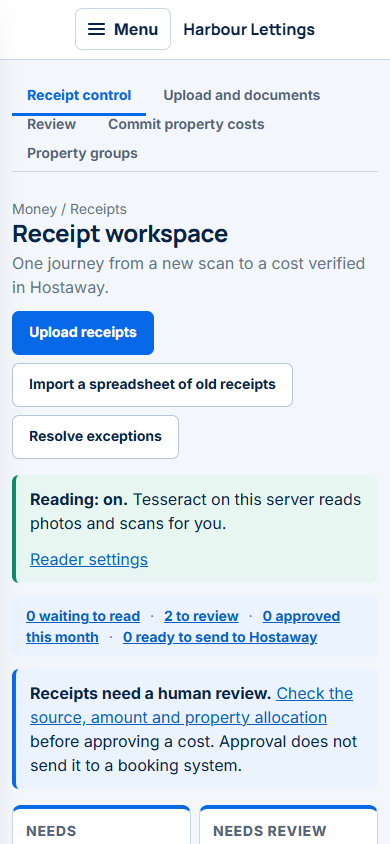
Figure 2. Receipt control at phone width.
What you will see
The workspace separates work needing review from approved costs. Adding a receipt does not approve a cost. For Uplisting, approved costs stay in Short Stay Control because Uplisting cannot receive costs. For Hostaway, an administrator must separately confirm any send. Office managers can add and work on receipts but do not approve them by default. Finance members can approve receipts. Their exact access can be changed by an administrator.
If something goes wrong
- "No receipts have been added yet." Choose the upload link in the message to start.
- "Nothing was ticked, so nothing was done." Select the intended receipts before using a bulk action.
- "No expenses connection" on a Hostaway workspace means the page found no enabled Hostaway connection with expense access. Ask an administrator to check Connections.